So here's the thing. I have been slacking for a very long time with BoB. I have been working on projects, just not blogging them. Sorry! There. I said it. Now lets move on to the fun stuff. :)
Here is a little something I worked on way back in February:
It all started when I reorganized my closet back in January. It seems as though January is the month that I get bitten by the organization bug. I don't know what it is, but it feels so good to purge and organize. I don't have any before pics but here is a little peek into my closet.
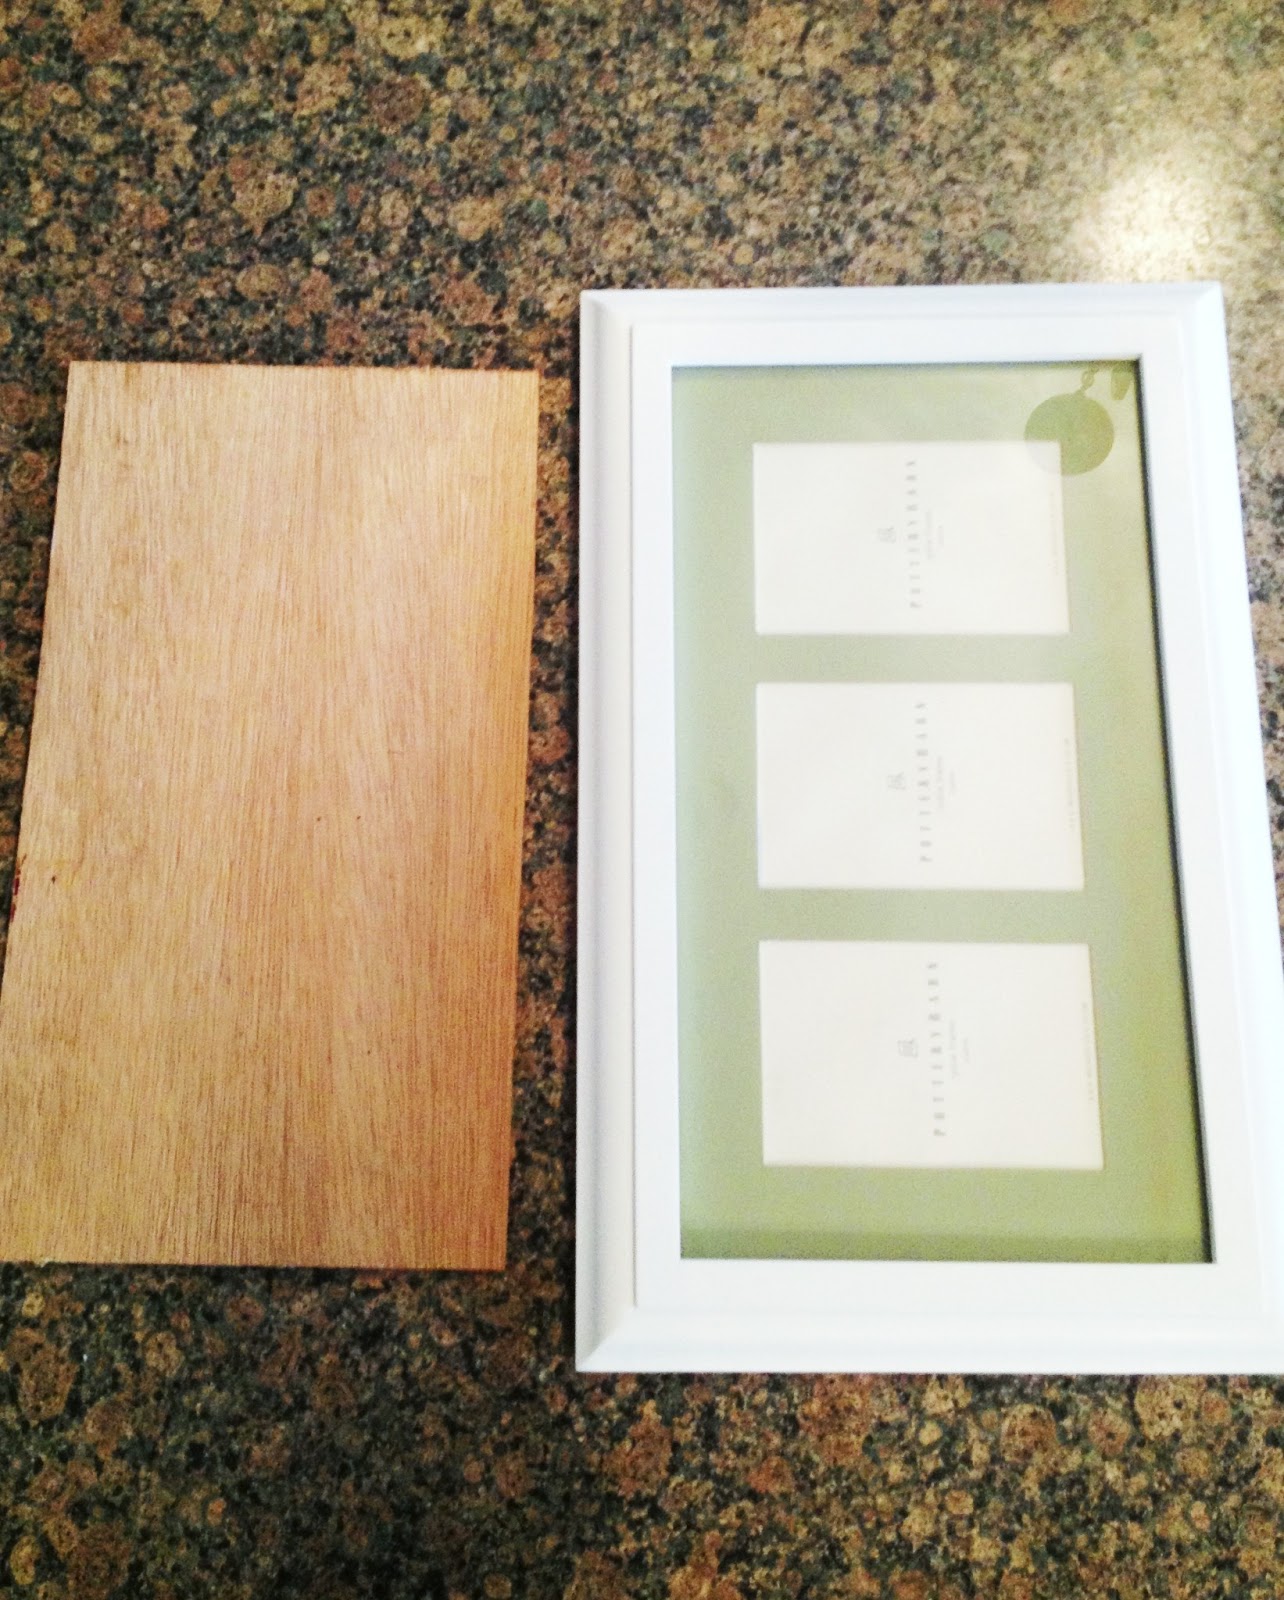
Do you see that empty space on the wall on the bottom right hand side? Total waste of space! That my friends is what got my wheels turning. I decided to DIY a jewelry display. Here is what I gathered from around the BoB homefront:
- A picture frame with the glass removed
- 1/4" piece of plywood cut to the same size as the frame's glass (masonite might work too)
- Paint brush
- Paint ( I mixed up a bunch of craft paint till I got a color I liked)
- Tiny cup hooks
- Ruler for marking cup hook placement
I started with a Pottery Barn frame that I scored at a garage sale last season. I traced the glass from the frame onto the plywood and had my handy dandy Hubster cut it out. Seriously, none of my projects would get done without that guy!
Next up? Paint! I didn't sand or prime and I love the way it turned out!
As you can see from the pic, I used a quilting ruler to mark my cup hook holes. Once my holes were marked, I tapped in brad nails to start the holes. Those little buggers can be a little hard on the fingers if you skip this step especially if you're doing a lot. Remove the nails and screw in the cup hooks. My cup hooks poked through the back of the plywood a tiny bit, but I didn't worry about that too much because the cardboard on the back of the frame would cover them. Insert your work into the frame and you should have your very own version of this:
For ease of hanging I traced the frame onto a piece of craft paper and marked where the "hangers" were.
I hung the paper on the wall with a little more tape, making sure it was level, and pounded the nails right through the paper.
I pulled the paper down and hung my new display/storage. Here's the before and after:
Simple, right? Is there anything you have been dying to organize?